Skip to content
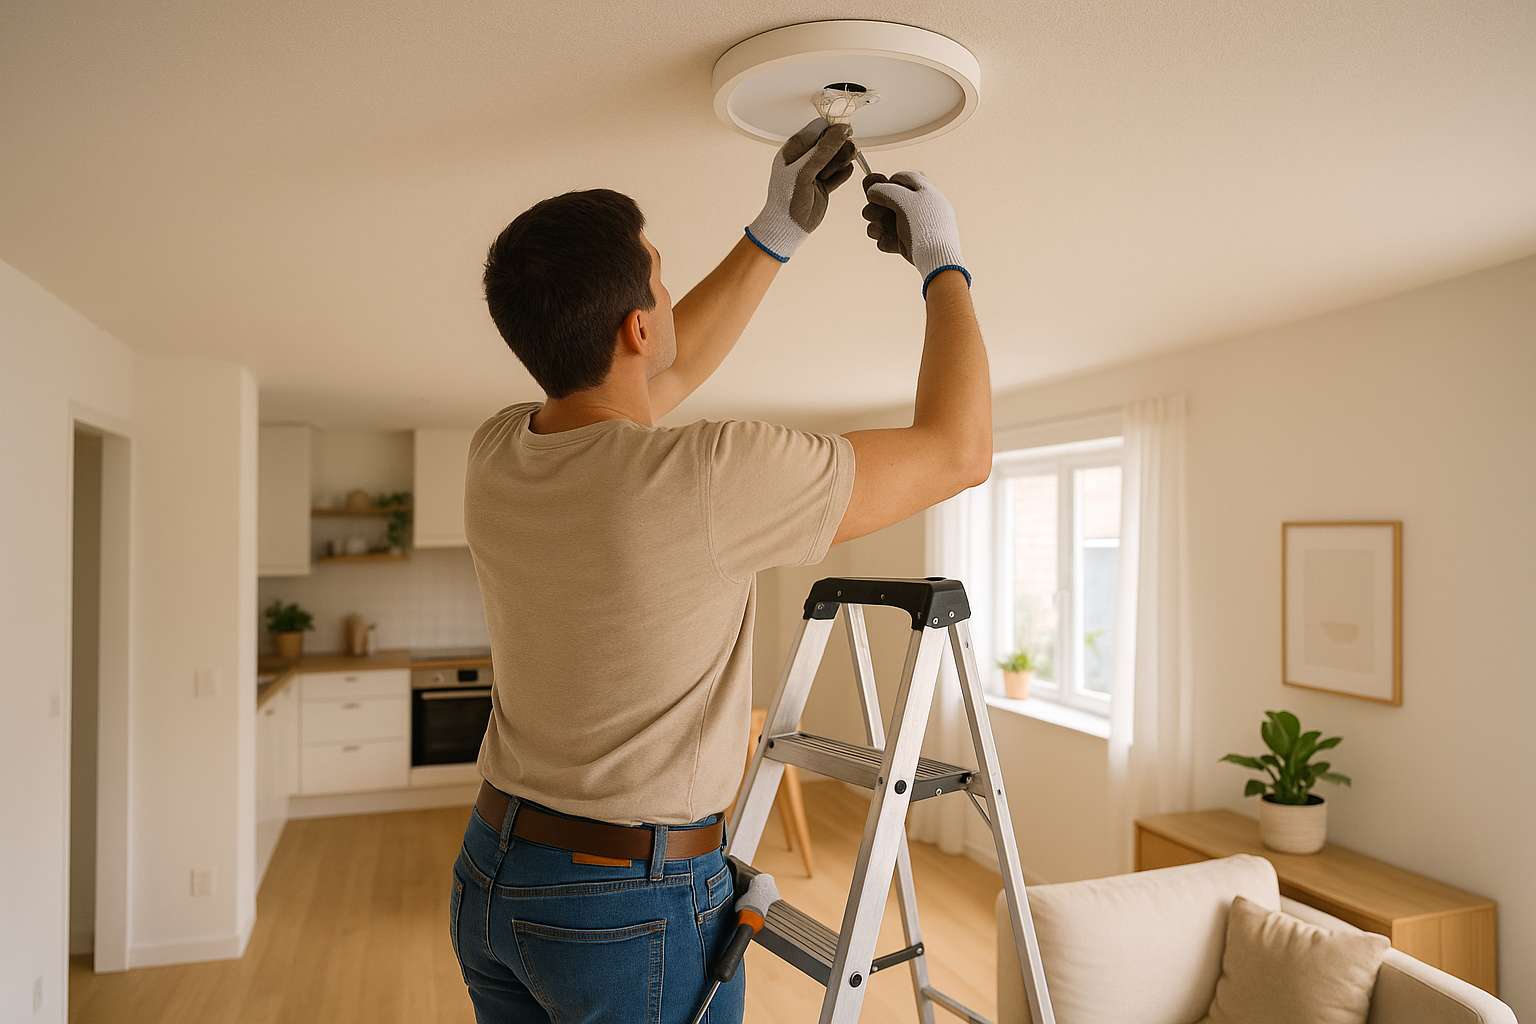
Ceiling lights are among the most common fixtures in homes, but replacing them can seem intimidating—especially if you’re not used to dealing with electrical components. Whether you’re swapping a dated fixture for something modern or just trying to change a burnt-out bulb, knowing the safe way to change a ceiling light is crucial.
This guide walks you through the step-by-step process of how to replace a ceiling light or bulb safely and effectively, with tips that even a beginner can follow.
Why Safety Matters When Replacing Ceiling Fixtures
Before we dive into the step-by-step process, it’s important to understand why proper procedure is essential. Electrical mishandling can lead to injury or fire. Even changing a ceiling light bulb comes with some risk if not done correctly. When in doubt, always contact a licensed electrician in Vancouver.
Tools & Supplies You’ll Need
-
Voltage tester
-
Screwdriver
-
Wire strippers
-
Wire connectors
-
Ladder or step stool
-
New ceiling light fixture or bulb
-
Safety goggles and gloves (optional but recommended)
Step-by-Step Guide to Replacing a Ceiling Light Fixture
Step 1: Turn Off the Power
This is non-negotiable. Locate your circuit breaker and turn off the power to the room where you’re working. Confirm the power is off using a voltage tester—never rely on just a flipped switch.
🔌 If you need help locating or labeling breakers, RST Electrical Services offers electrical maintenance services to keep your home safe and efficient.
Step 2: Remove the Old Fixture
-
Carefully remove the bulb(s) from the existing fixture.
-
Unscrew the fixture base from the ceiling mount.
-
Gently pull the fixture down to expose the wiring.
-
Take note (or a photo) of how the wires are connected: typically black to black (hot), white to white (neutral), and green or copper (ground).
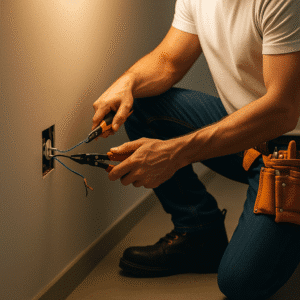
Step 3: Disconnect the Wires
Unscrew the wire connectors and separate the fixture wires from the ceiling wires. If any wires are frayed or damaged, you may want to consider a professional ceiling light installation instead of DIY.
Step 4: Install the New Fixture
-
Connect the new fixture wires to the corresponding ceiling wires using wire connectors.
-
Carefully tuck the wires back into the ceiling box.
-
Secure the new fixture base to the ceiling with screws.
-
Install the bulb(s) into the new fixture as instructed.
Looking for a fresh design? Learn more about our residential electrical services that include lighting upgrades.
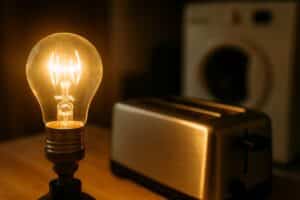
Changing a Ceiling Light Bulb: The Safe Way
Sometimes all you need is a new bulb. Here’s how to do it safely:
Step 1: Turn Off the Power or Switch
If your fixture is connected to a wall switch, turn it off. For extra safety, cut power at the breaker.
Step 2: Wait for the Bulb to Cool
If the light was recently on, wait several minutes for it to cool before touching it.
Step 3: Use a Ladder Safely
Place a sturdy ladder or step stool on a flat surface. Avoid using furniture or unstable surfaces.
Step 4: Remove and Replace the Bulb
Twist the old bulb counterclockwise to remove it, and replace it with a new one. Make sure the new bulb matches the wattage requirements of your fixture.
For those in apartments or homes with high ceilings, RST offers quick electrical services in North Vancouver and surrounding areas for hard-to-reach replacements.
Bonus Safety Tips for DIY Ceiling Light Replacement
-
Avoid working alone—have someone nearby in case you need assistance.
-
Use insulated tools when working near wiring.
-
If your ceiling box feels loose or unstable, stop and call a professional.
You might also consider scheduling an inspection as part of broader electrical maintenance, especially in older homes.
When to Call a Licensed Electrician
DIY projects are great, but not every job should be handled solo. Call a certified expert if:
-
You’re unsure about your home’s wiring.
-
Your light flickers after replacement.
-
The fixture involves complicated wiring or smart tech integration.
-
You encounter signs of faulty circuits.
For homes across Metro Vancouver—from Coquitlam to Burnaby—RST Electrical is ready to help.
Ready to Brighten Your Space Safely?
Knowing how to replace a ceiling light fixture or how to change a ceiling light bulb safely can save you time and money—while giving your space a fresh update. Just remember: safety first. If you’re ever unsure, don’t risk it—get help from a pro.
Book a licensed electrician easily using our online booking system or check if we service your area through our location directory.